
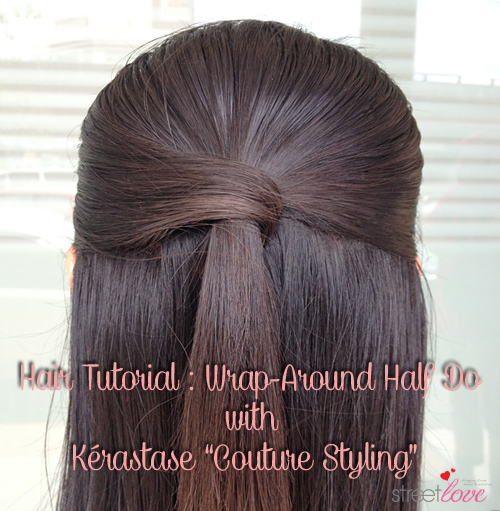
If you’re my Instagram or Facebook page follower you’ll definitely remember this wrap-around half do which I shared a few months ago. I know I know, I promised you a hair tutorial on this hair-do. It took me this long to finally do it because of two reason. (1) This auntie have totally forgotten about it as usual lol and (2) I haven’t figure out how to take photo of my head from the back.
I’ve been toying around with some styling products from Kérastase Couture Styling range and recreating this wrap-around half do. Let me tell ya’ recreating this hair-do is not easy at all but here is the tutorial as promised 😀
The first time I tried doing this wrap-around half do is in the office. That time I’m equipped with just a comb, a few hair tie, a few bobby pin, a can of hair spray and I nailed it on first try. Not only recreating the same hair-do is difficult, I also face with the shooting challenge as well. My bigger camera is once again sent to the service centre so I have no choice but to use a smaller camera. Some photos may be a bit blurry as I can’t see the camera screen at all. I think you get what I mean 🙂
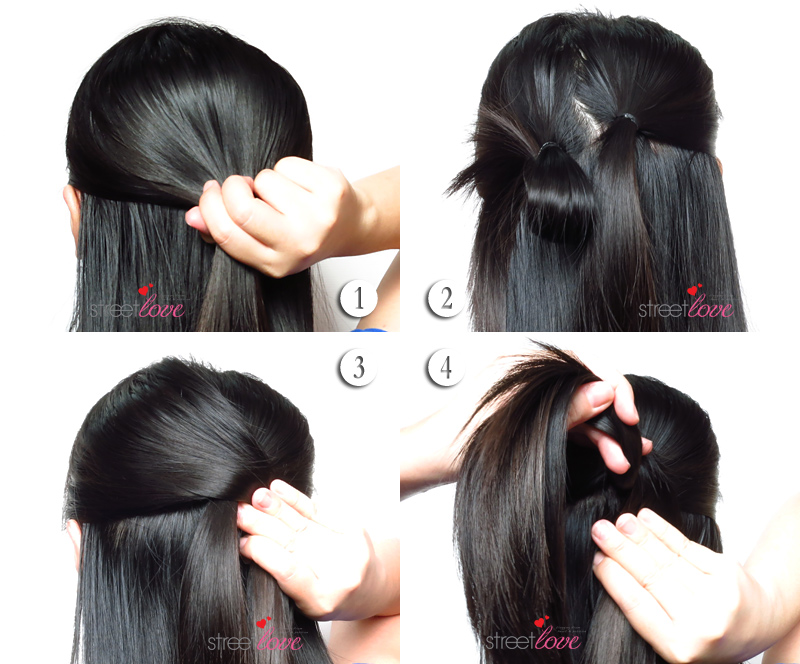
(1) I always like to start with combing my hair sleek and straight as I prefer my hair-do to be smooth. If you have wavy or curly hair and you prefer that messy-look, there’s no need to comb it straight. If I want to do this hair style after hair wash, I’ll apply Kérastase Forme Fatale Voluptuous Blow-Dry Gel and blow dry my hair using a flat comb just to get that silky, straight look. Half way through blow dry, I’ll apply Kérastase Lift Vertige Root-Uplifting Gel on the hair roots for that higher hair effect and continue blow drying. Next, grab about 1/4 of your top hair like the picture above. The amount depends on your usual liking and preference. I have very thin hair so that’s all I can spare lol.
(2) Grab and separate a small portion strand of hairs on either left of the right side. In my case it’s the left side. Secure it with a hair tie just to temporary separating them away. On the larger portion of the hair, comb and tie it with a hair band. Try to get it on the center.
(3) Untie the smaller portion of hair that was separated earlier, give it a nice comb through and wrap it around the larger portion of hair. Align the hair properly so that it covers the hair tie.
(4) Grab the larger portion of hair tied earlier, creating a gap underneath it and tuck the smaller portion of hair underneath the hair tie. Secure with bobby pin. I usually use two bobby pins. Make sure the pins are hidden nicely.
Here’s some useful tips:
1) Keep the amount of hair that is used to wrap around at minimal, otherwise it will be too thick to be pin underneath. Just make sure the hair is sufficient to cover the hair tie.
2) Twist the hair once before wrapping it around so that it won’t appear too loose.
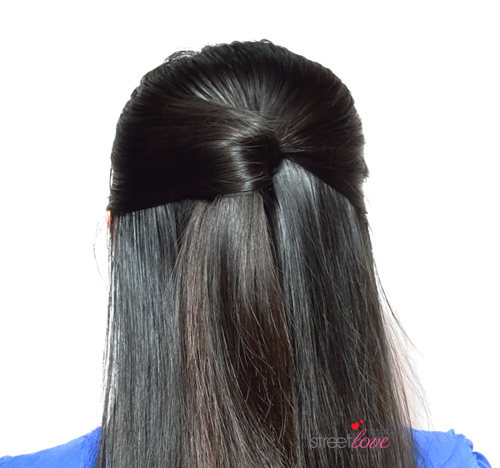
This is the end result. Well, obviously I took too much hair to wrap around haha! But as long as it forms a style so why not 😉 We’re not done yet.
This next step is for straight hair like mine. Give your hair a good comb on top of your head to smooth everything out. I have a lot of baby hair so I usually like to use Kérastase Laque Couture Micro Mist Fixing Lacquer, which is a medium hold hair spray, to keep all the baby hair at place.
Wavy or curly hair can use Kérastase Spray á Porter Tousled Effect Spray or Mousse Bouffante Luxurious Volumising Mousse to maintain the curl and volume 😀
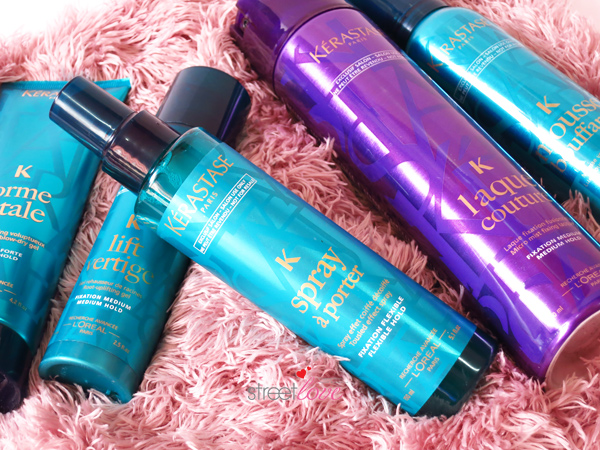
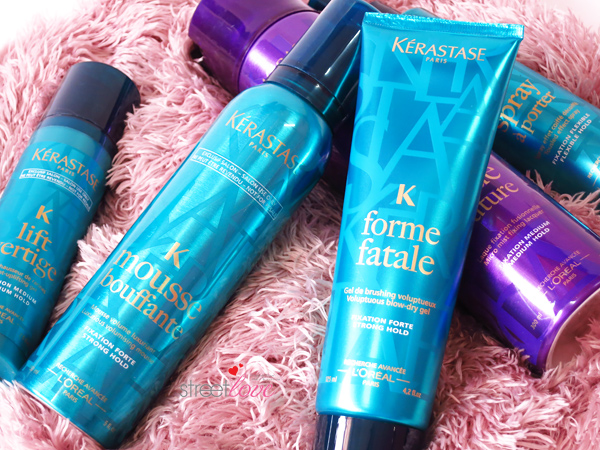
Kérastase Couture Styling consist of The “Designer” Range and The “Perfector” Range.
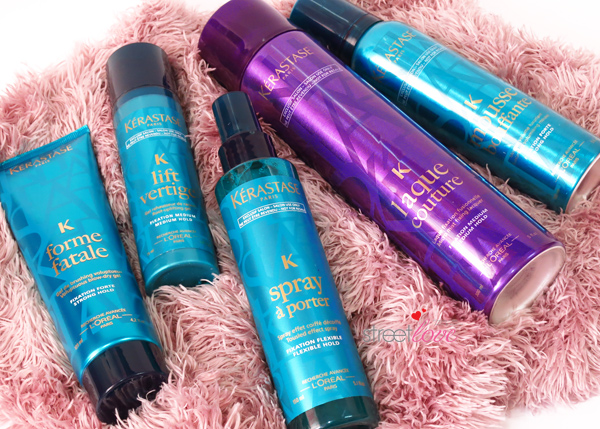
Designer Range
Infused the hair for a velvety effect
The range consists of four products:
- Spray á Porter Tousled Effect Spray
- Forme Fatale Voluptuous Blow-Dry Gel
- Mousse Bouffante Luxurious Volumising Mousse
- Lift Vertige Root-Uplifting Gel
Perfector Range
Offers styling effects every women desires
The range consists of two products:
- Laque Couture Micro Mist Fixing Lacquer
- Short Mania Star-To-Be Sculpting Paste
I like that Kérastase Couture Styling product comes in three different types of hold – Flexible, Medium and Strong. I choose what to use depending on what type of hair style and what type of look I want because different hold will give a different look. I’m not going to elaborate much on the product as I’ve already mentioned above on how I use these products to style my hair but if you want to know more about any particular product, just leave me a comment 😀

Kérastase Couture Styling range is available at all authorised salons nationwide.
For more product info, promotions, new release, hair care tips and many more, do visit Kérastase Malaysia Facebook page at https://www.facebook.com/KerastaseMalaysia
Comments (17)
You never fail to surprise and amaze me do you know that^^. I didn’t expect hair tutorial from you at all. This hair style is so simple and yet nice. Thanks^^
Haha Evelyn! I said before I can be quite random 🙂
Glad you like the tutorial. More to come!
Been a little MIA with a busy December but just getting back into reading your posts again, Fiona. I love the one on 50 things about you. Some surprises in there 😉
Great tutorial and pretty style. I’m impressed you set it up and photographed these steps all by yourself! It’s hard enough doing your own hair without having to shoot each step as well. I am so bad at doing my own hair.
Hi Jude and welcome back 😀 . The door is always open so no worries if you need to MIA because I do the same too lol
The 50 Random Things About Me is quite last minute and random. I don’t plan to hide myself but still need to think carefully what’s appropriate to post up. Wouldn’t want to freak you girls out with my “colorful” life previous 😉
I do hope you like the tutorial. It’s really simply. Just remember to grab lesser hair that will be used for the wrap around. I put the camera on tripod as usual, set timer and quickly do the hair style while praying it’s perfect (I can’t see my hair or the camera). Basically it’s doing and shooting in the dark. Took me a lot of shots just to get a nice shot. You have no idea how many times I repeat the sameeeeee step each time hahaha.
I love doing hair style. If only I have more time 🙂
Chic and neat! You’ve the patience and perfectionist streak to carry this off, salute! Hehe. Love the style and genius way to change a simple hairstyle. You da bomb! 😀
The finishing is chic and neat. Before that it was a whole chaos, trust me hahaha! Shooting this really wanna make me cry. My arms are so tired and camera is not behaving well lol.
Thanks! Glad you like it 😀
Haha, I know how meticulous you are 🙂 Beautiful perfectionist! I appreciate this step by step pictorial because we can read the instructions and view the steps. Sometimes even watching Youtube does not provide such clarity. So kudos girl! Those tired arms are worth it for a beautiful hairdo and excellent shot to compliment a great blog post!. You never cease to provide informative tips 🙂
And not to mention, the Kerastase products are also in sync with your chic hairdo – Perfector and Designer Range. They are so “you” 🙂 Oh, you have removed the comment moderation feature?
I’m going to do more hair style with Kerastase. It’s great to use and I think I’ll have more time to snap more of these soon when I’m jobless lol.
Oh yes yes. I’ve removed the comment moderation for regulars. So it’s auto published. For newbie I’ll still need to approve it to prevent spam. Lots of spam lately OMG
Yeap. Imagine my camera’s auto-save photo numbering is like so far behind although there’s not much photos taken in real LOL. If only I vlog haha. Video editing is not easy. I still have yet to go into that. I suppose videoing is easier than putting down in word haha. I’m random like that 😀 . Hope the instruction is clear. I was a bit blur when I type those LOL.
Yay for regulars comments, haha some of us good girls have made it onto Fiona and Street Love’s list 🙂 And big NO NO to the spammers. Vlog is the next level. I see those from Michelle Phan, Lisa Eldridge and Jen from Head to Toe among others, really salute them. But then again, some of them are full time bloggers hence the dedication and effort spent. Yeah, your instruction and photos are clear steps to follow through. Though I have long hair, it is frizzy and I have a lot of baby hair. Hehe, this is because I have the nasty habit of pulling my hair (literally!) when I am stressed. Kerastase is a good product for nice hairdo finishing. Crowning glory with healthy glowing skin. Awesome <3
Eh no la. Sometimes I could be out and I wouldn’t want you girl’s comment to be put on hold so I removed the moderation. There’s a limit to achieve in order to be approved automatically but it’s working good so far. You pull your hair? Wah this is new haha. I like to scratch my head when I’m stressed or bored.
I love Kerastase 😀 . They came out with really good hair products.
You make it look so simple in the photos! If I tried it solo, it would probably end up senget as that always happen when I try any fancy hairdo. 😛
By the way, I don’t know if it’s just me but recently your logo doesn’t resize to fit mobile… I’m only able to see ‘eet lo’ of your logo!
Senget is alright. Mine always ended up senget. Just pull the hair over and it will be fine again.
Yes, I’m still fixing the logo. My itchy hands wanted to change the blog layout a bit but my coding is not the normal WordPress one. Hang on haha
Update on the logo: Temporary solved it 😀
Yay!!!!! Finally you made it. Looks easy. I’ll try this hair style tomorrow =)
Finally indeed 😛
It’s quite easy. Only need to multi-task when separating the left and right hair.