
Last Sunday I decided to start my tanglong making after dragging it for so many weeks. I just don’t have the time to do all this anymore with my busy work schedule.
I purchased this book of Tanglong Making #2 from Kinokuniya at RM18 a few months ago. I won’t recommend anyone to purchase this book as the instruction sucks. They skipped a few steps and it’s really annoying to keep taking off staples! At the middle of the below making process, I decided to ditch the book and do it myself. Thank goodness my crafty brain still works lol.

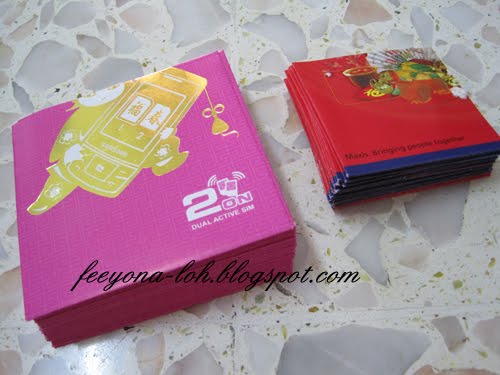
I took down 2 boxes of red packets from the top of my cupboard. This 2 boxes is just 10% of my collections. There’s still loads more. I love red packets. Giving out “angpao” is a good thing for the giver. There’s 2 types of giving “angpao”. First is as married people and second is as superior giving out to his/her subordinates. I don’t do the first one as I’m not married but I do the second one which is giving “angpao” to my staffs. I did that every year and not sure about this year as my current staffs is a pain in the a$$. I have stuffed thousands of RM into their pockets and yet they still don’t appreciate it. I was thinking to double the value of the angpao this year but I might not give them at all. Ok I’m rambling again. I’ll tell you why in another post.

This is the tanglong that I’m making.

First I prepared all the necessary tools and this tanglong requires 60pcs of square angpao and 60pcs of small square angpao. Not 30pcs each like what the stupid book said. Really misleading.

For this style, I use pink square and red small square. The big square is half from the long angpao packet and the red small square is customized. Total 60pcs each. Yes I decided to use another red angpao packet instead.
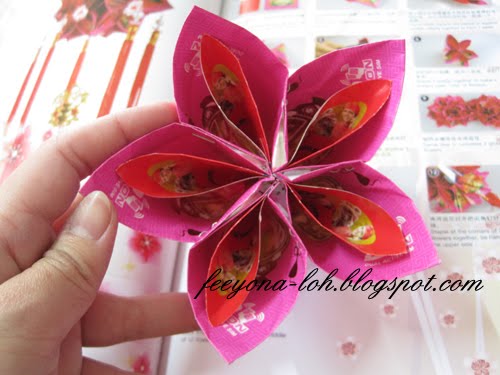
Fold both size square as below and staple them together securely. I stapled 3 times as per the instruction from the book. Prepared lots of staples as this tanglong uses lots of it.

After you staples 60pcs of the above, staple each together side by side into a flower like the below.. It’ll be 5pcs in a flower.

Staple the end to form a flower.
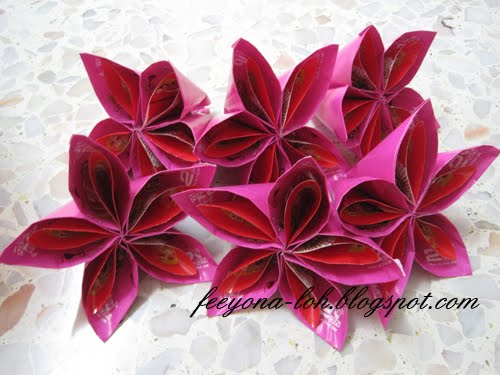
You’d need 6 flowers on top and 6 flowers at the bottom making the total of 12 flowers for the whole tanglong!
Staples 2 flowers at the corner of the leave.

You’d need to staple 5 of this. Like this.

As I mentioned earlier that you’d need 6 flowers for a top part. . .staples the 6th flowers on top of the 5 connected flowers earlier. It’d form half of the tanglong.

Repeat the process above for the bottom of the tanglong, connect both together and voilà! Here’s the result.


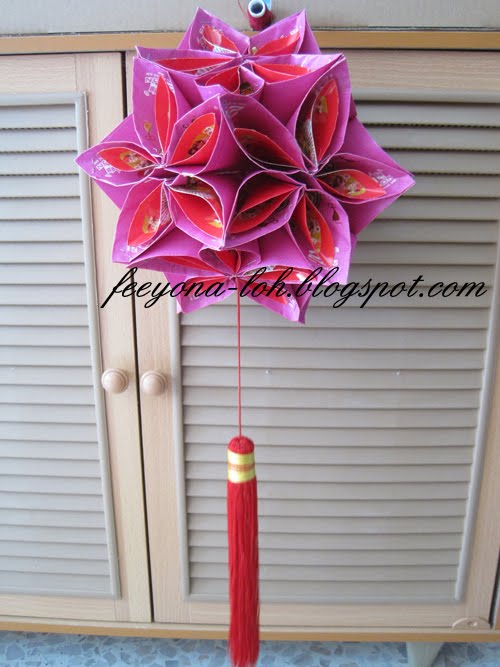
I like it but regretted making this style as this is really time consuming. Now I need to remake a few of this tanglong today =)
Comments (6)
Girl this is gorgeous! Can’t wait for CNY!
Thanks =). I just made a pineapple tanglong hehe
Maybe you can try to look for this book at popular bookshop.
http://www.facebook.com/pages/One-Publisher/159922954025438?v=wall#!/photo.php?fbid=160168737334193&set=a.160168544000879.35040.159922954025438&theater
Thanks dear. I saw this too but decided to buy the no. #2
wow.. looks easy but hands on not same.
This one a bit difficult and time consuming :P. “Hulu” is easier.