
A year ago I stumbled upon a Youtube video on this simple, cute side braided bun and I’ve been doing the hair style since. I must admit, having all your hair up in a bun is not a favourite here because you could risk looking like an “auntie”. The last time I had my hair up in a bun is during my ballet classes 😀 . Boy it was a competition on who have the neatest and nicest hair bun of all!
I’ve seen some stylish girls doing it and it actually looks good. The key to this look is to put on jewellery, pairing the look with modern attire such as dresses and don’t forget the makeup 🙂 . For this side branded bun hair tutorial, I’ve only put on a light makeup as I was in a hurry. Hope you like this hair-do!
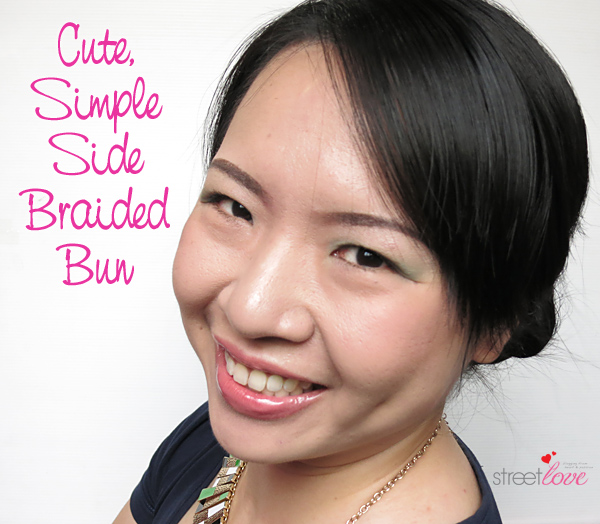
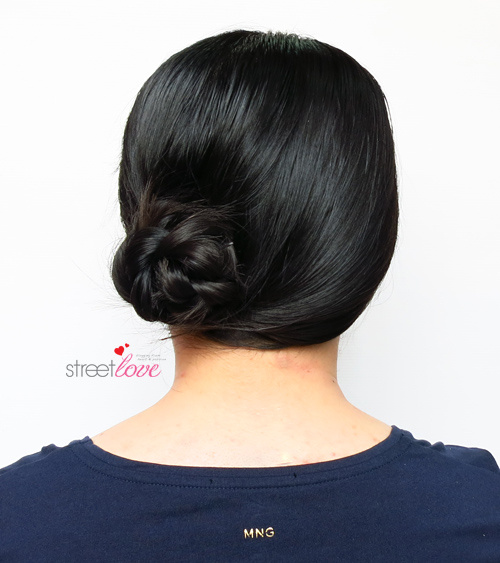
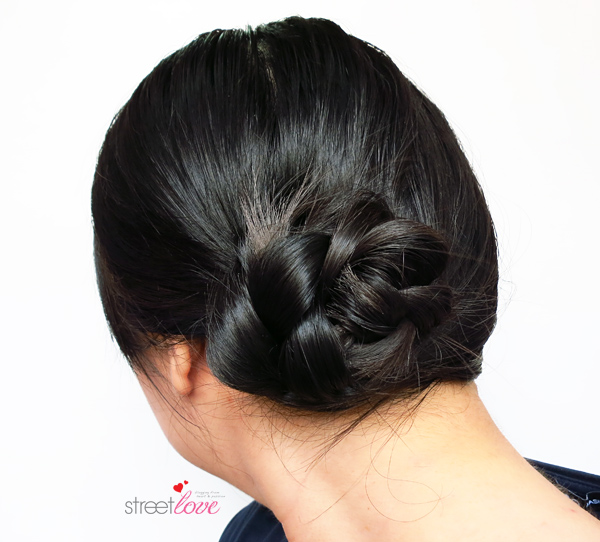
A side braided bun that I’m about to share with you looked like this. Rather than having it on top of the head and in the middle, this modern hair bun with a twist is given a loose look, sweep to the bottom on one side. This look is suitable for a romantic date, to work or even out with your girlfriends. I personally prefer to have this hair-do to work as it’s so easy to do and it goes well with my accessories and attire for work.
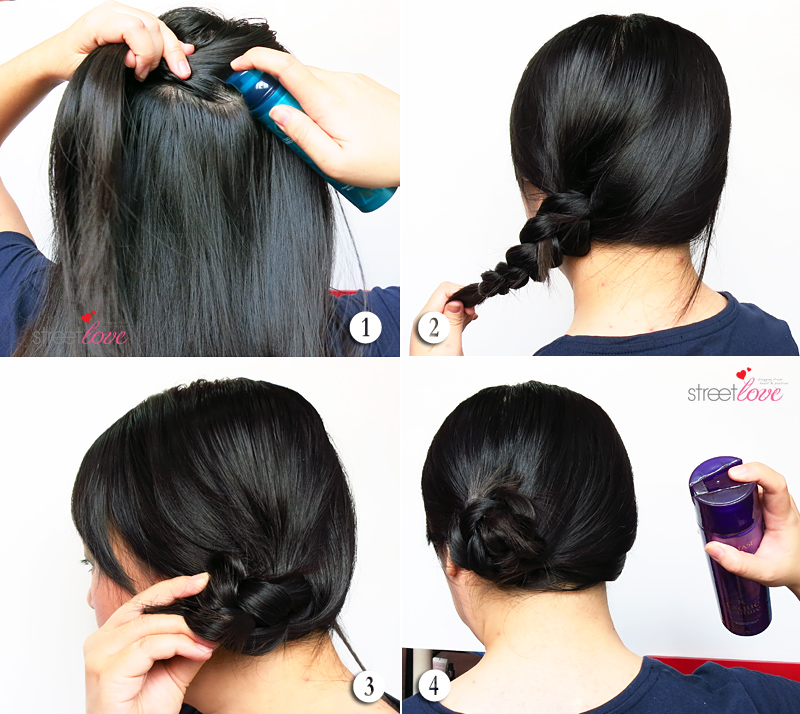
This hair style is only done in four simple step.
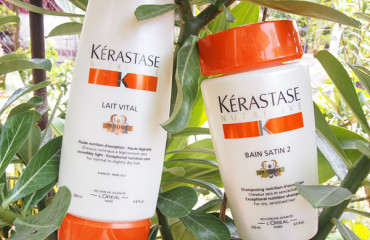
(1) Because the hair on top of my head is lesser comparing with other area, I use Kérastase Lift Vertige Root-Uplifting Gel on the hair roots for that higher hair effect on damp hair and blow dry. This hair product is quite unique as it’s contained in an Airless pump-flacon bottle. I like that the gel doesn’t give me a hard cardboard look. It’s quite subtle so feel free to tease your hair if you like.
(2) If you are into messy look, you can ignore combing but I personally prefer this hair-do to be neat so I’ll give my hair a good brush. Then grab all the hair to one side and start braiding all the hair. Secure with a hair tie. Do not tuck the hair behind the ears for the romantic look 🙂 . Ignore all the frizzy or loose hair. Take care of that in the end.
(3) Next, tuck the end and start rolling the braid up until the base. Secure the sides with bobby pins. For this look I’ve only used three bobby pins. You’ll be amazed with how well the hair hold up, even till the end of the day.
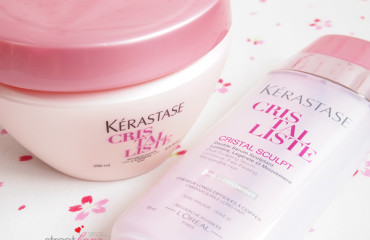
(4) I don’t usually get a clean and neat finishing due to the layering of my hair so I would prefer to secure all the loose ends and baby hair with Kérastase Laque Couture Micro Mist Fixing Lacquer, which is a medium hold hair spray. Remember this look is suppose to be soft and romantic so there’s no need for hard hold hair spray. This hair product is an alcohol-based combination of style enhancer – a fixation polymer and a surface protection agent. As this is a medium hold hair spray, there’s no cardboard stiffness with the end result as well 🙂
And we’re done! What I like about this hair-do is the wavy bun from the braid. It is also because of the braid that created the wavy bun that it makes the overall look more modern and sophisticated without looking like an “auntie” or a ballerina 🙂 . If you stare long enough you wouldn’t have figure out that it was a braid that is rolled up in a bun.
This hair style goes even well with wavy or curly hair. There will be no combing required and the waviness of your hair will give an even more subtle and romantic look.
Oh and one important tip. Do secure the top of your hair bun securely with a bobby pin or put one extra bobby pin if needed because if the hair bun is droopy from the top, it look really awkward. Once you secure the top properly, the hair bun just went alive and all pretty. The good thing about this hair-do is that it is so easy to be secured with bobby pins. I know some hair style is so hard to have pins in it. This one definitely not going to have any issue. I usually put one on the top, one of the left and one on the right.
Hope you enjoyed this edition of hair tutorial. See you in next tutorial! 😀
Comments (8)
Such a pretty bun! You’re so talented! I am honestly hopeless when it comes to hair and cannot be bothered most of the time. I don’t really know how to braid my hair too… whoops…
Nah, it’s all Youtube haha. Most of the time I just wear my hair straight and down. It really depends on the time I have and the clothes. Otherwise I wouldn’t bother to do my hair 😀 . I can’t do fish braid or any other braid than this simple one 😛
You can get a flower pin to pin on your bun. It will looks nice.
Oh yes. But I have a chunky necklace on so having a flower pin on my hair bun would be too much for me 🙂
You are really one creative beauty blogger around. I like that you stick to beauty but brings out the diversity within the content topic. I have tried this hair style. You are right. It is so easy to do. I done it in less than 5 minutes. More hair tutorial please?
Hahaha thanks Noradiana! Beauty is still my favourite topic of all time. The aspect is so huge but yet niche. Bravo! You done it in 5 mins! Okay, more hair tutorial soon 😀
That’s a cute hairdo 🙂 As always, you have the patience and gift to carry off this hairstyle. Thanks for sharing the easy to follow steps. One of the weekends I shall experiment at home 😀
Thanks Jen! 🙂
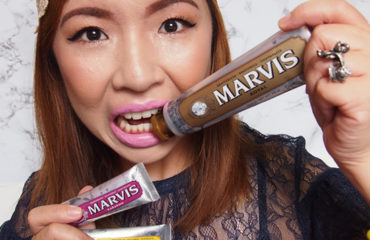
This hair style matches with my red lipstick hehe.